The Project
Strip Drain Installation on a Suspended Slab
At THN GROUP, we understand the importance of effective drainage solutions, especially in commercial and industrial settings. One of our specialized services is the installation of strip drains on suspended slabs, designed to manage water flow and prevent potential issues such as flooding or water damage.
A strip drain installation on a suspended slab is a specialized process designed to manage water drainage effectively. Here’s a brief overview of the steps involved:
Site Assessment: Begin with a thorough evaluation of the suspended slab to determine the optimal location for the strip drain, ensuring it aligns with existing drainage systems.
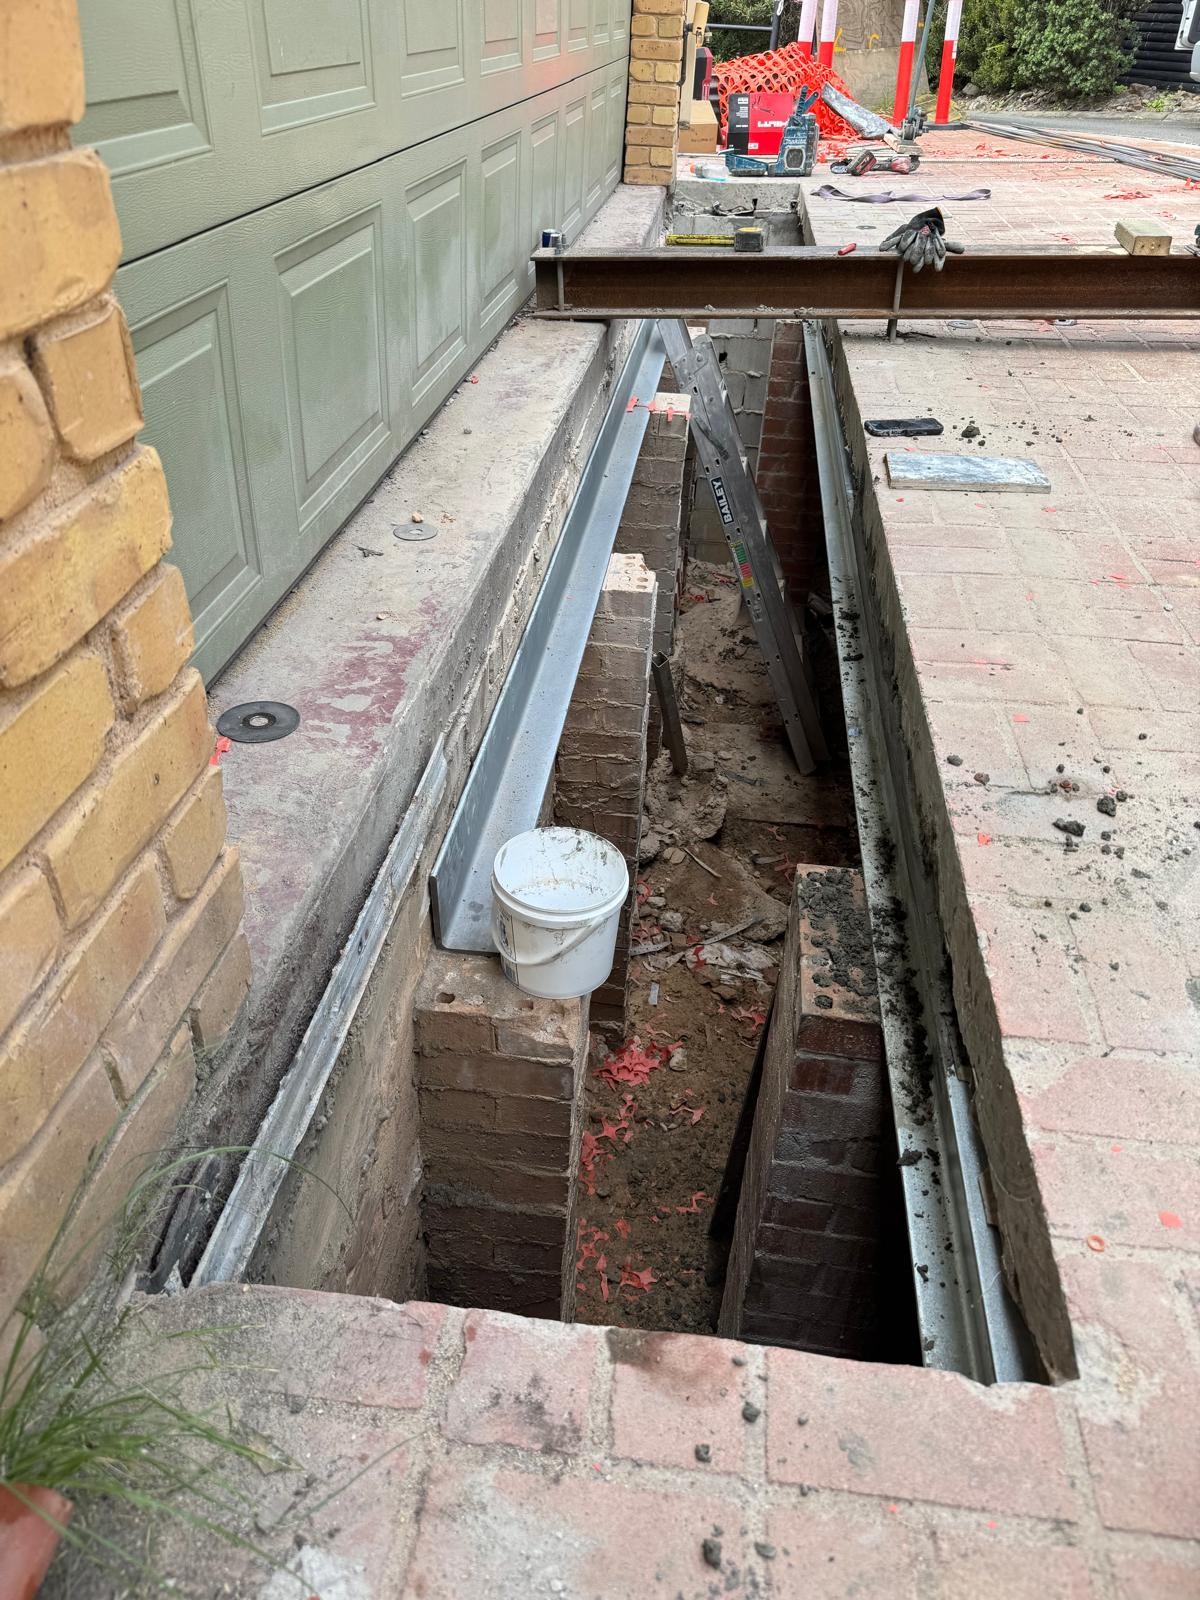
Preparation: Clear the installation area of any debris and prepare the surface for work. This may involve isolating the area to maintain safety.
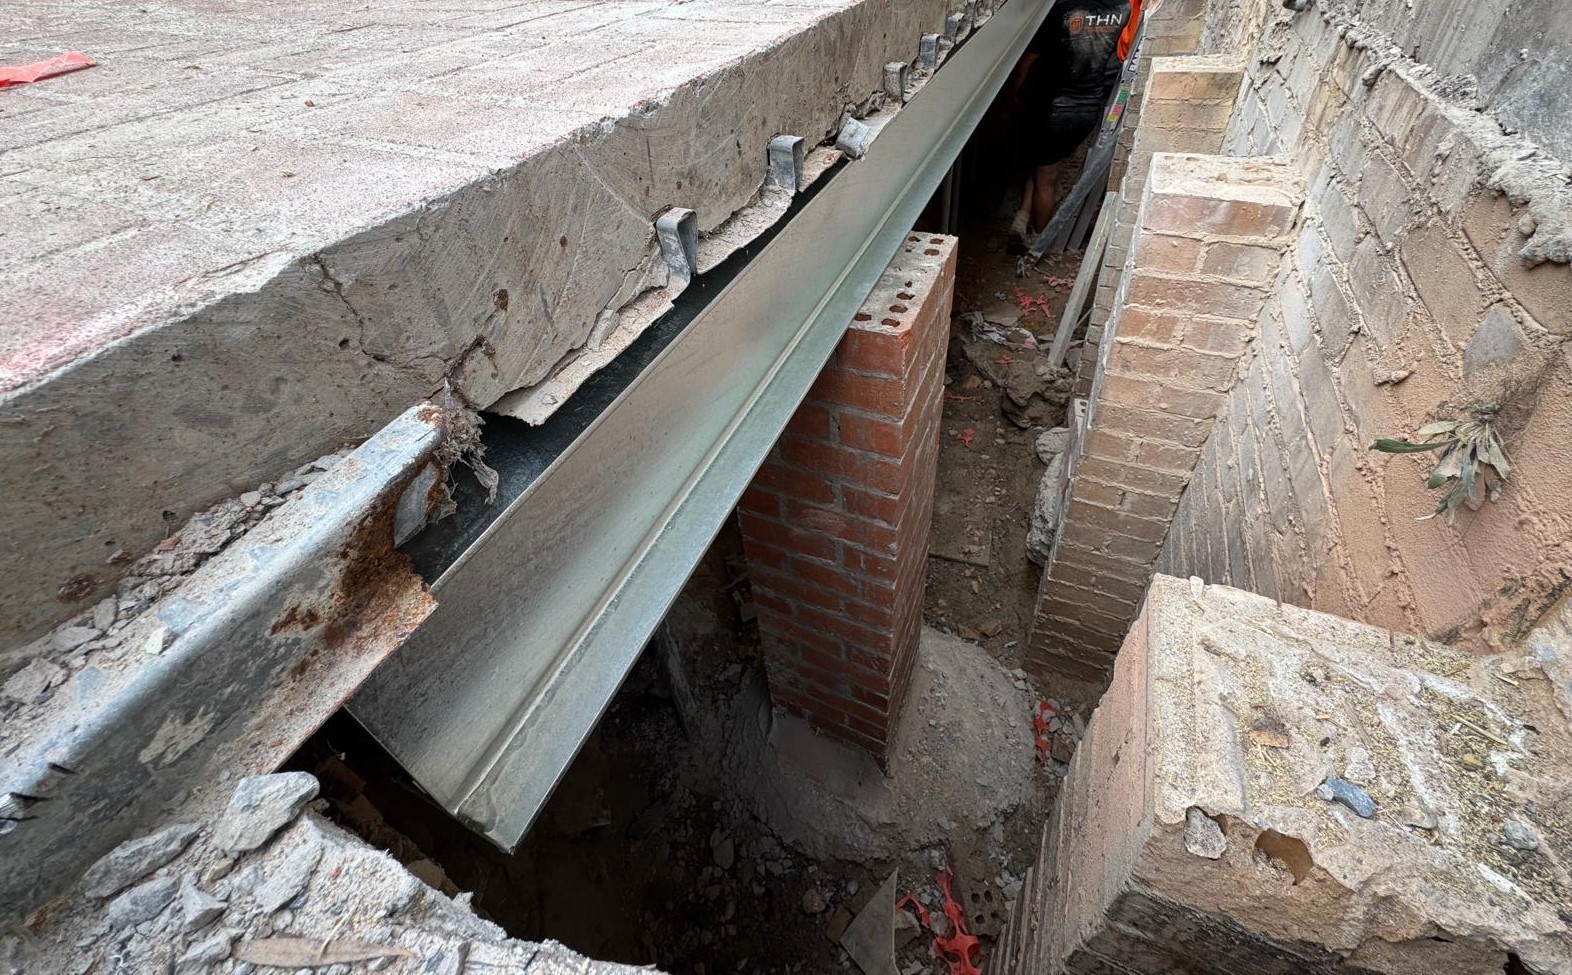
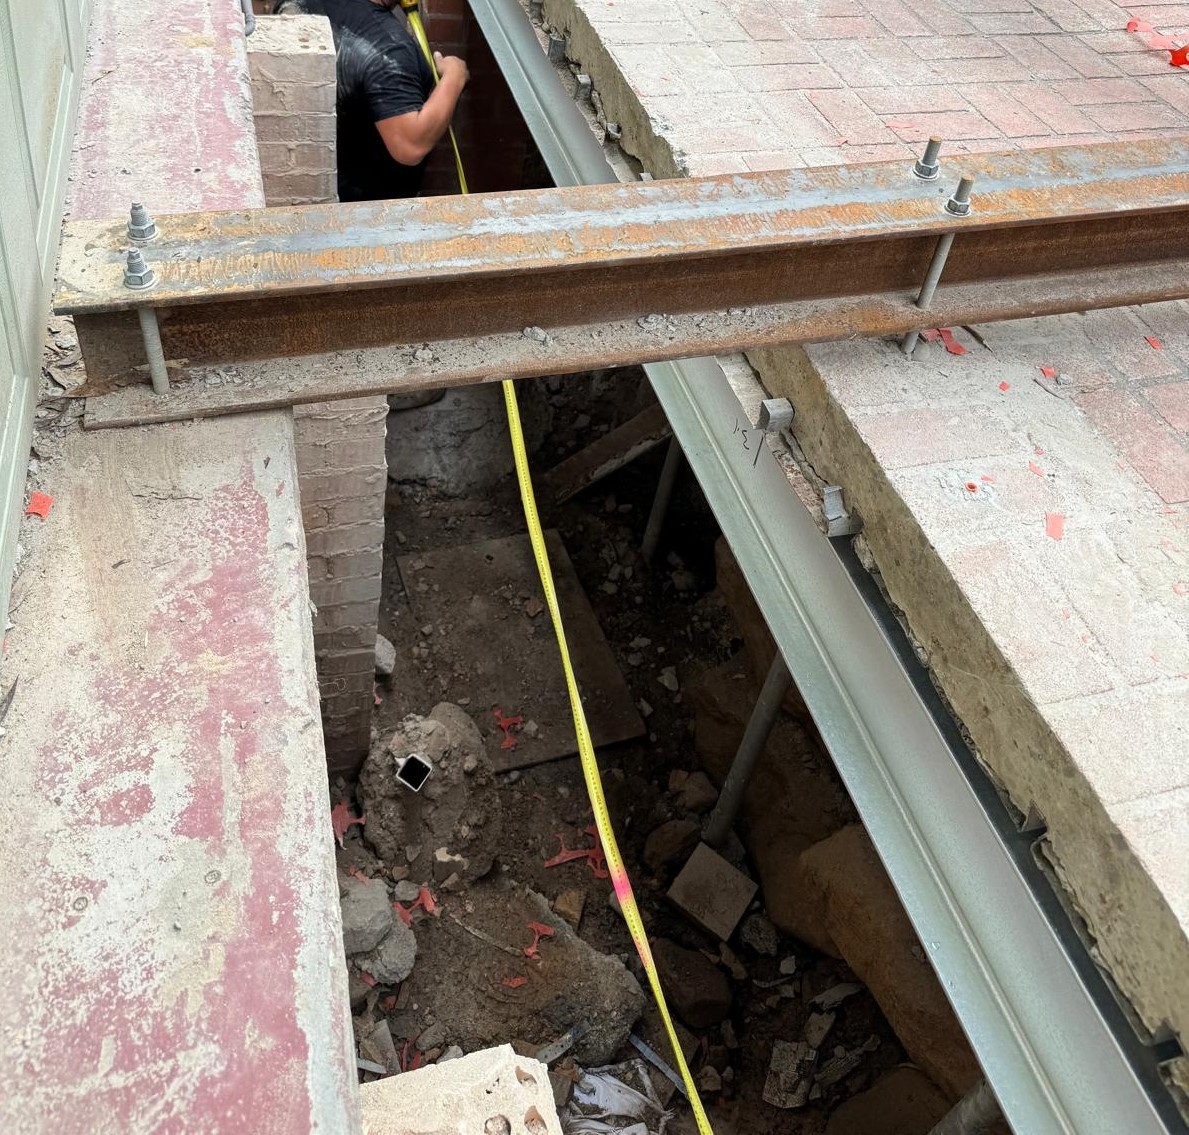
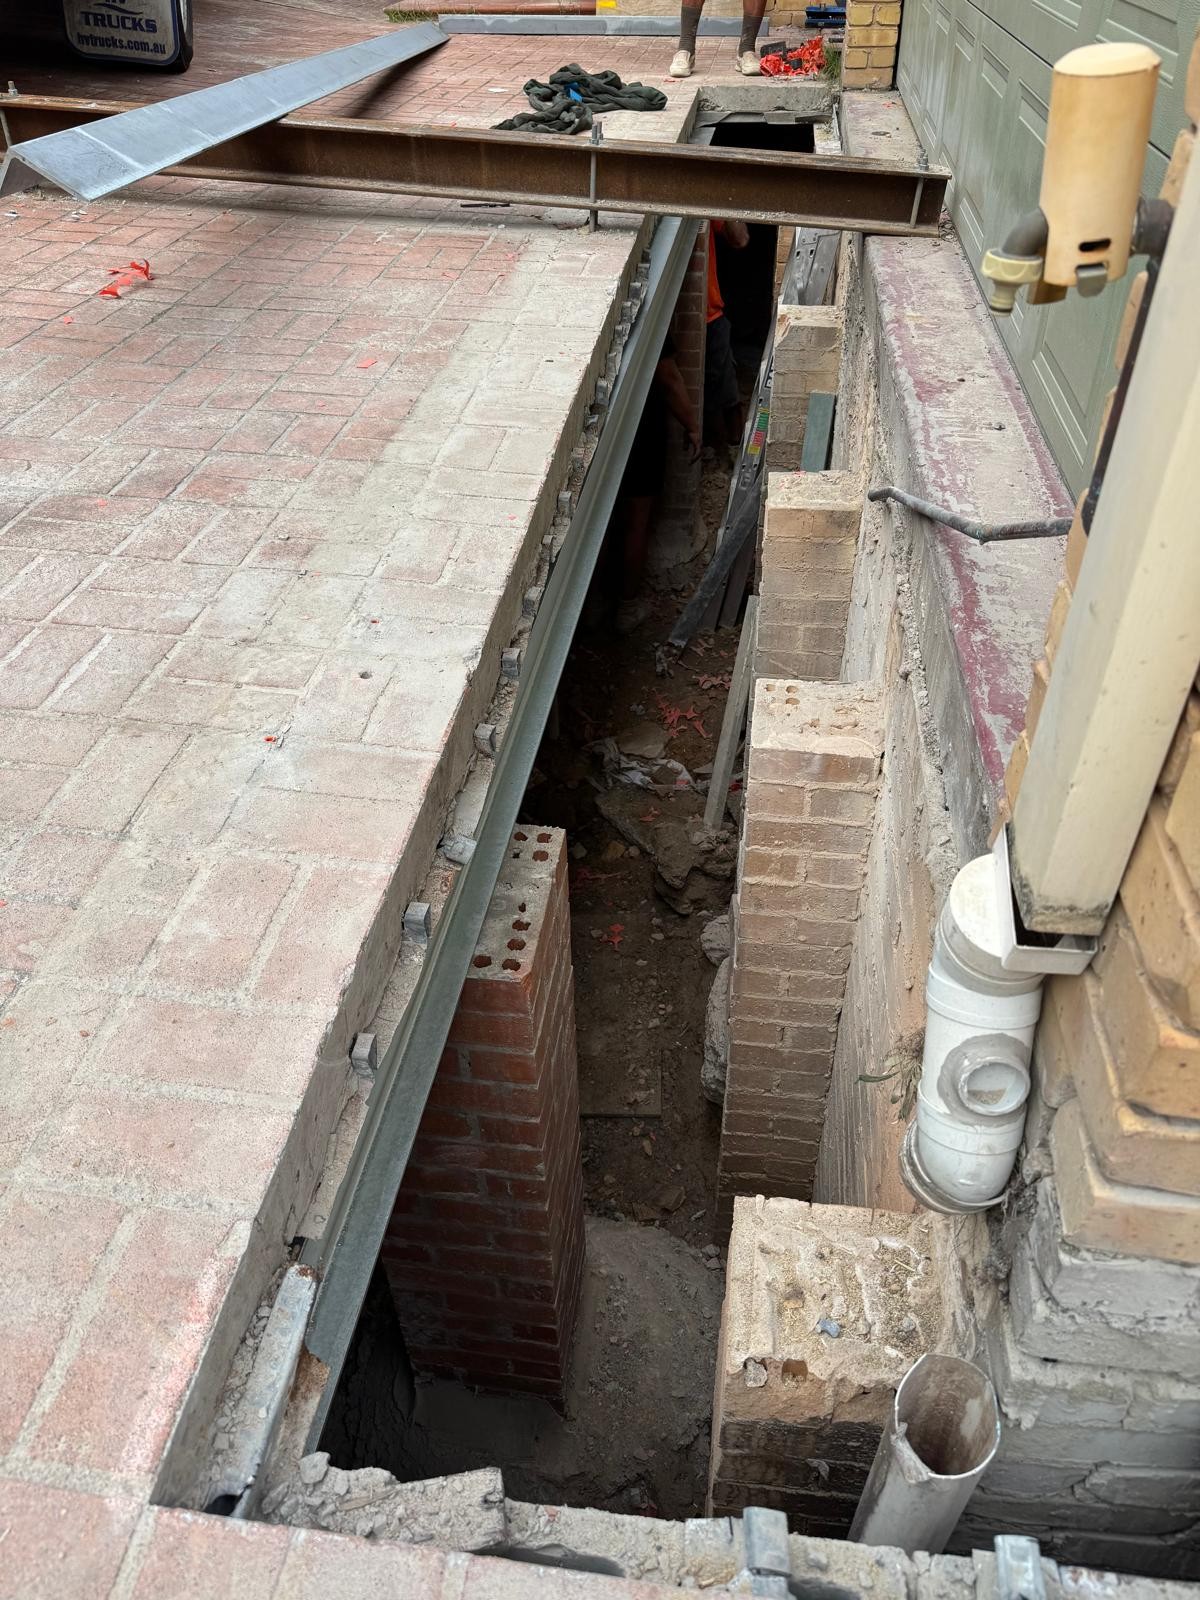
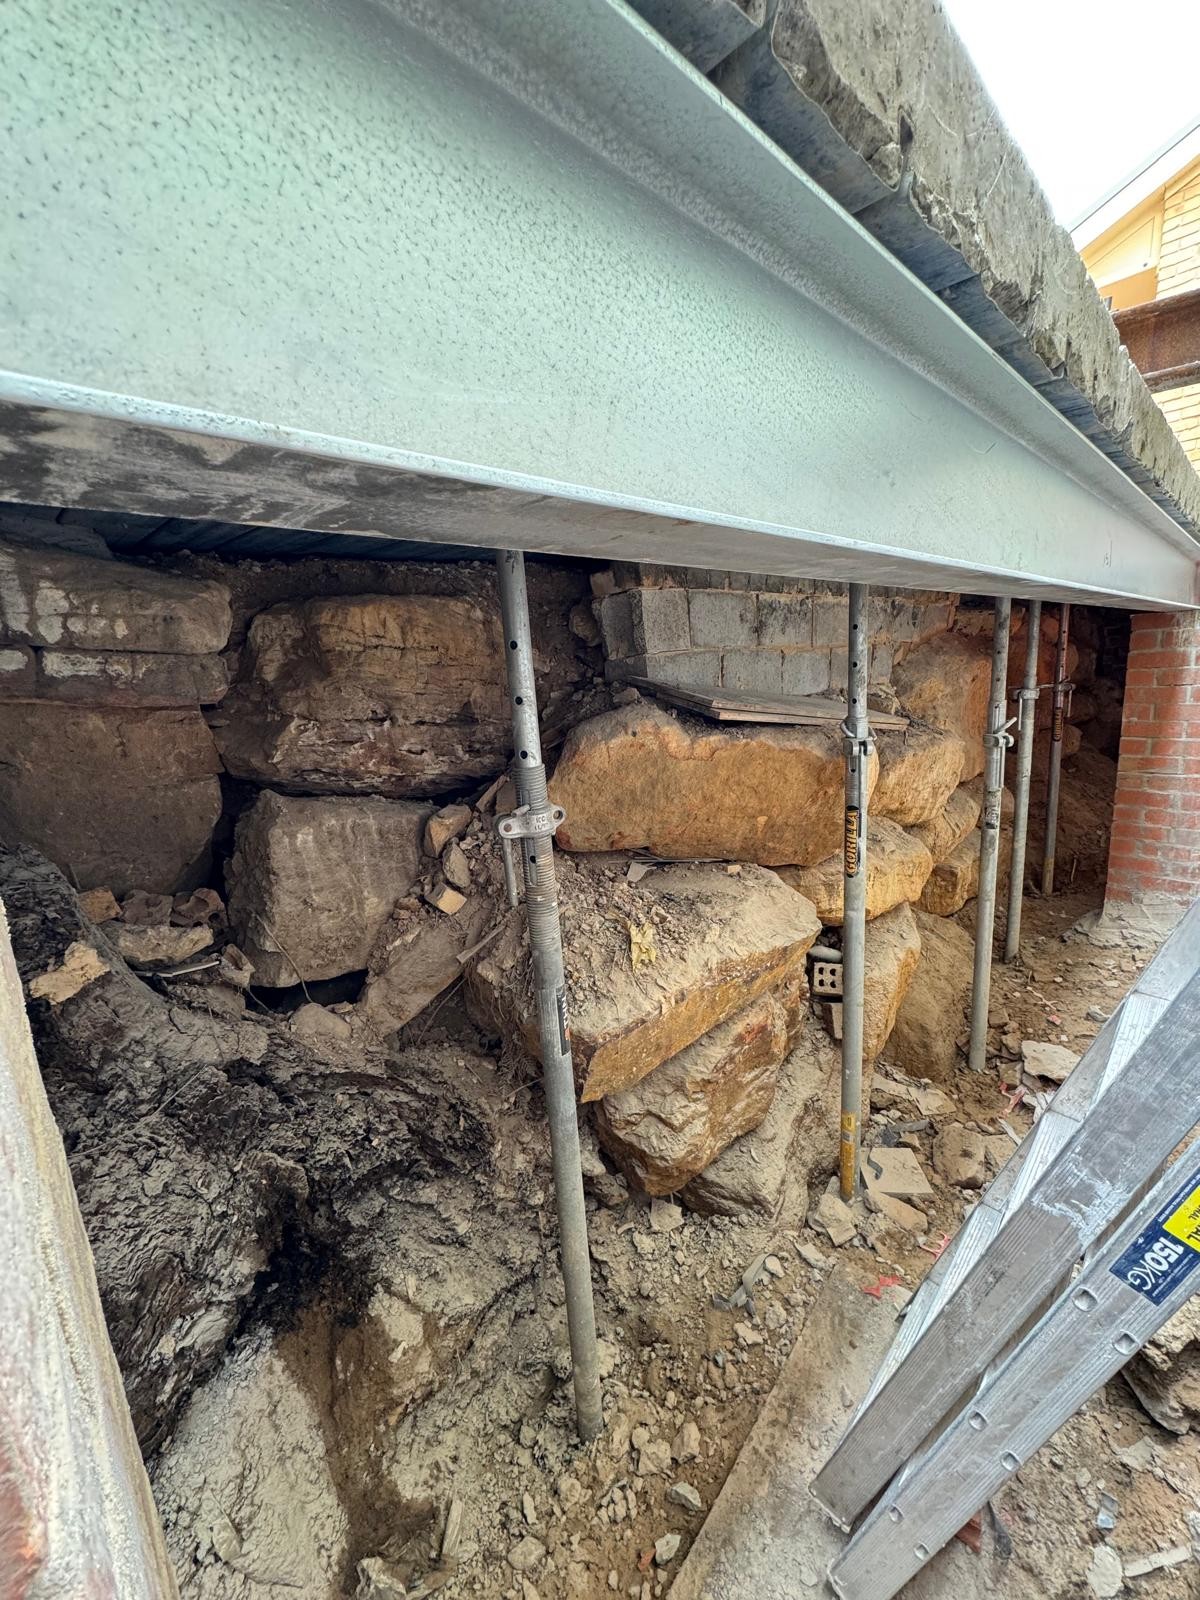
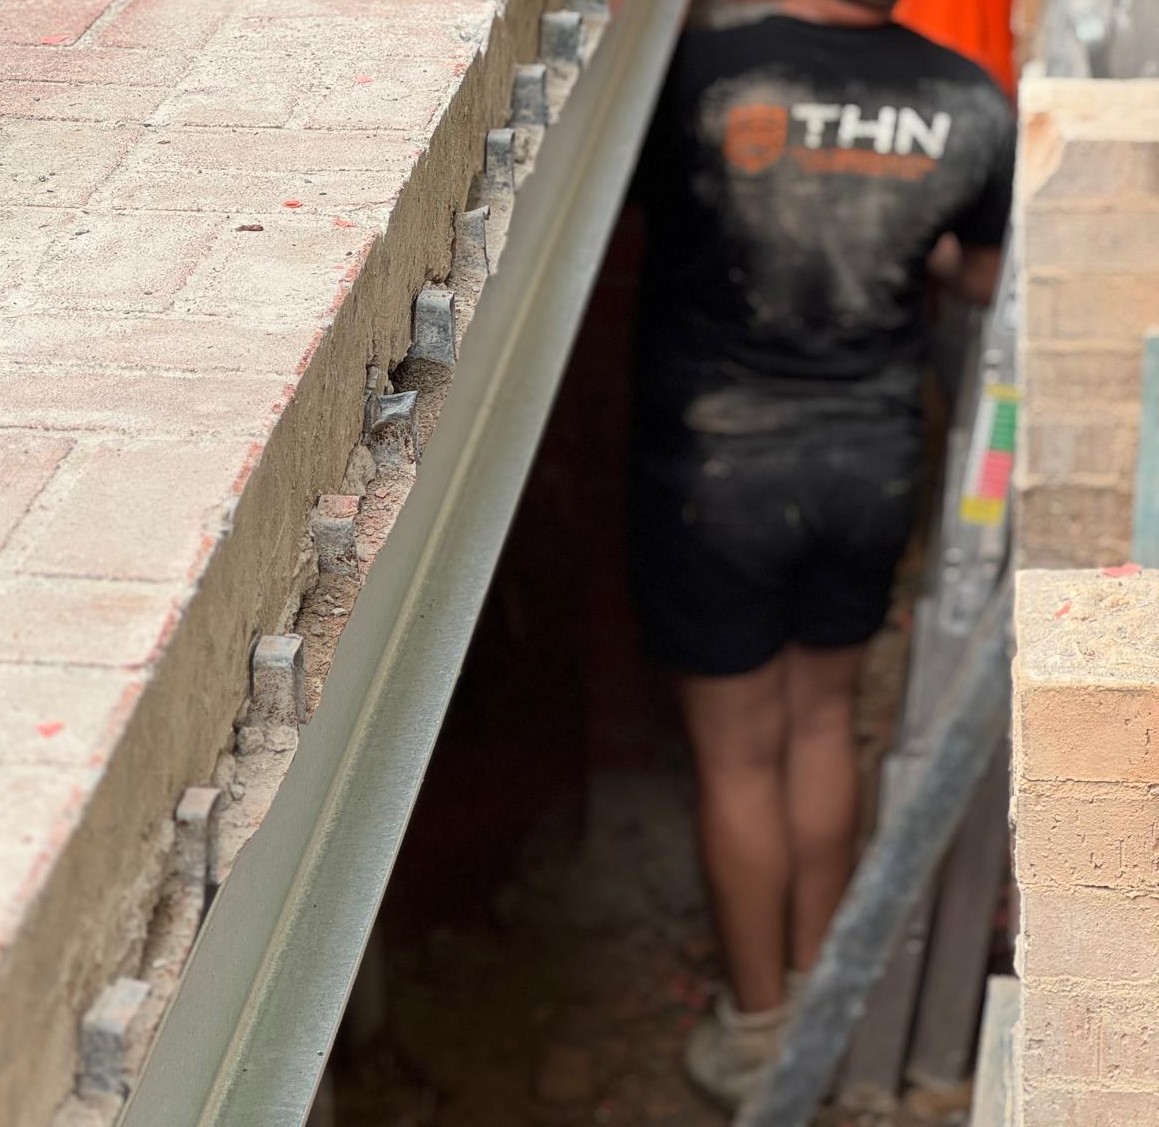
Cutting the Slab: Carefully cut into the suspended slab to create a trench for the strip drain. Precision is crucial to avoid compromising the structural integrity of the slab.
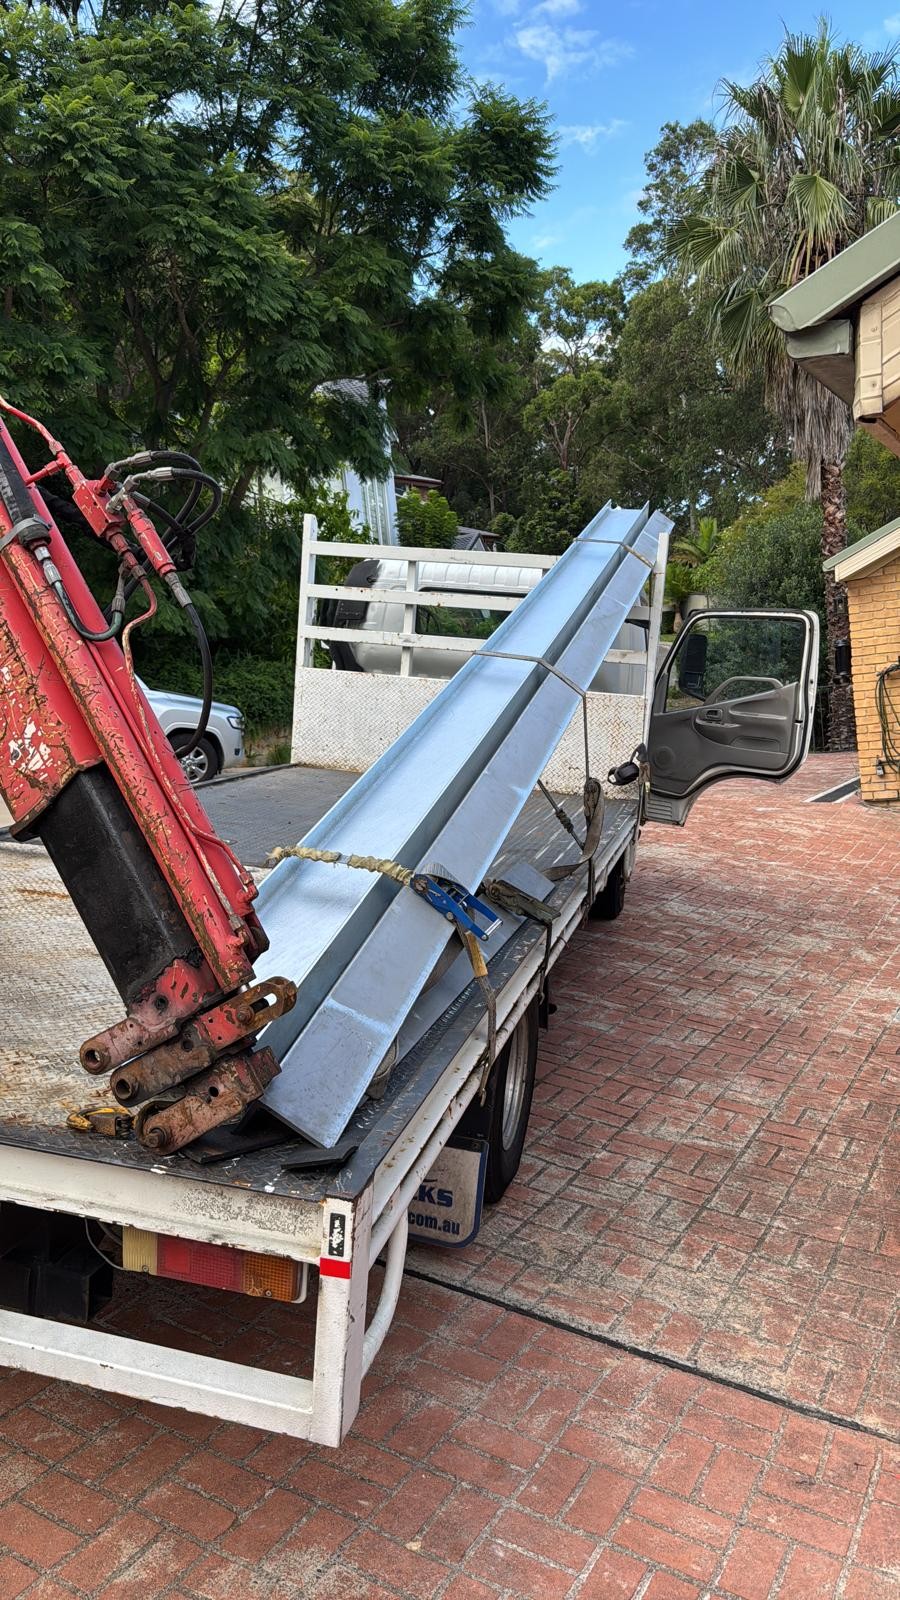
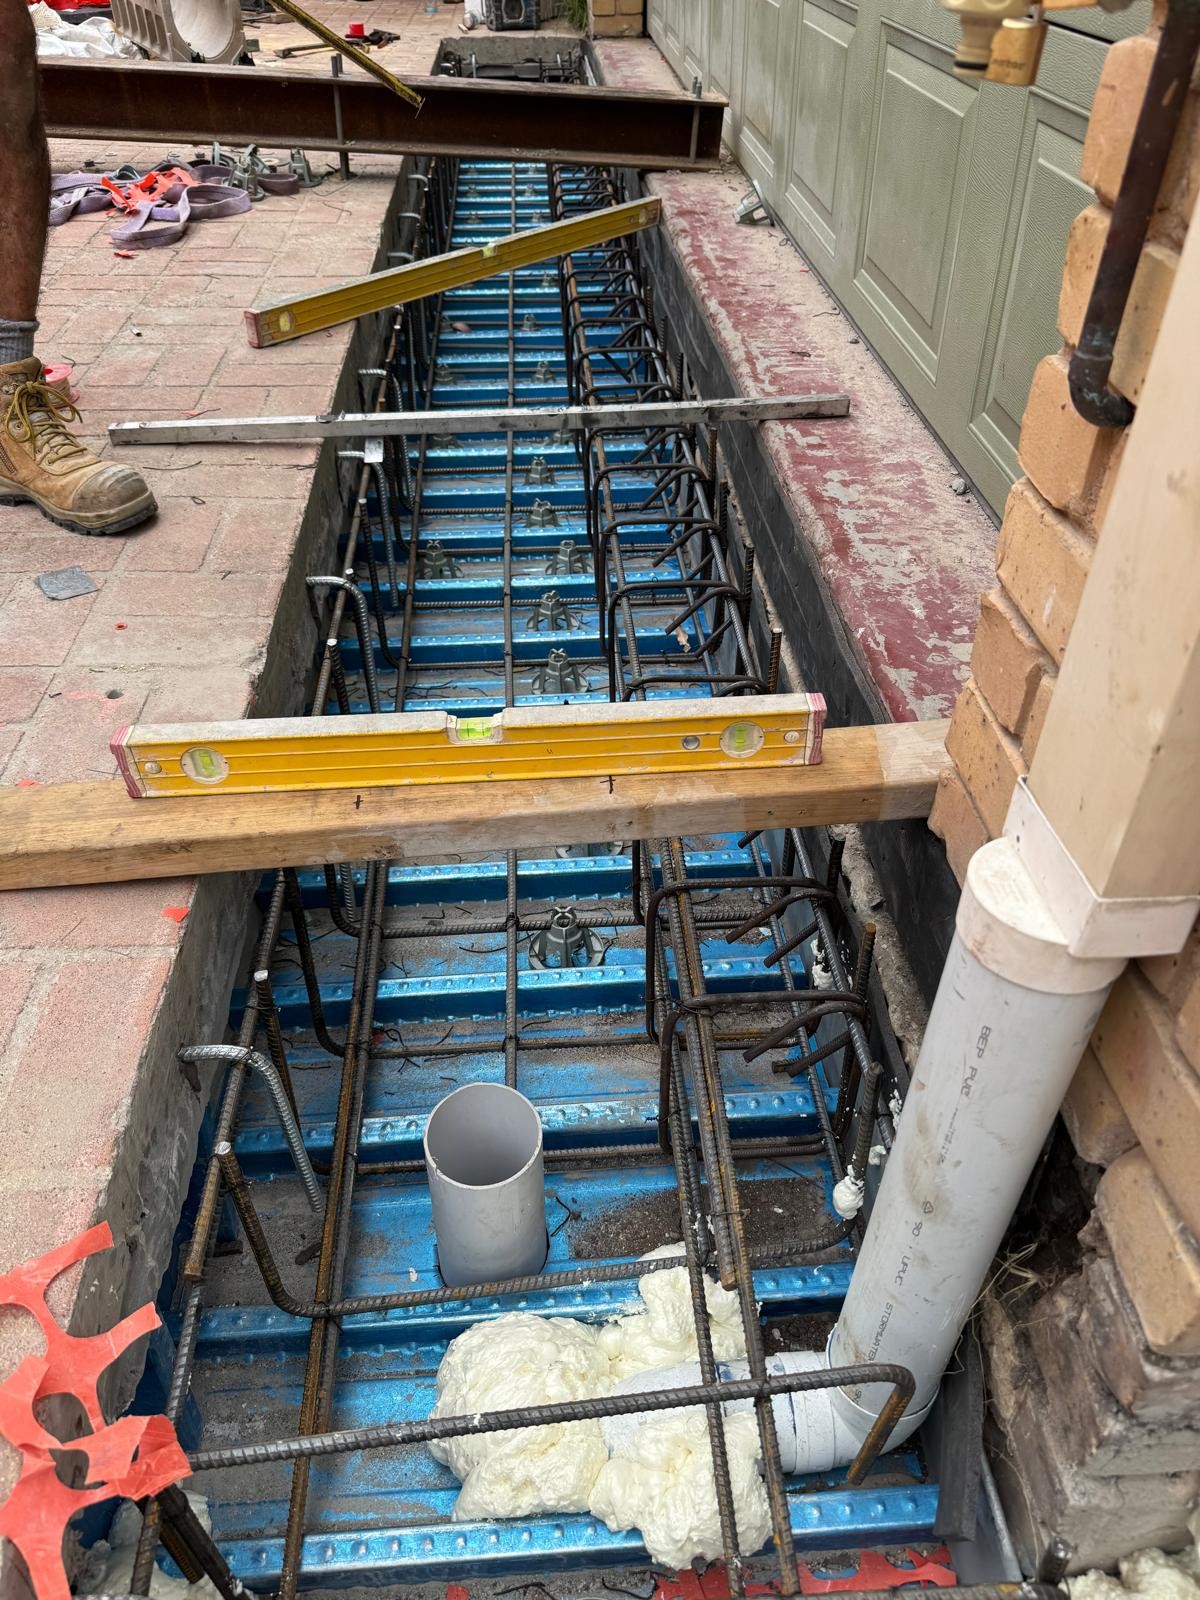
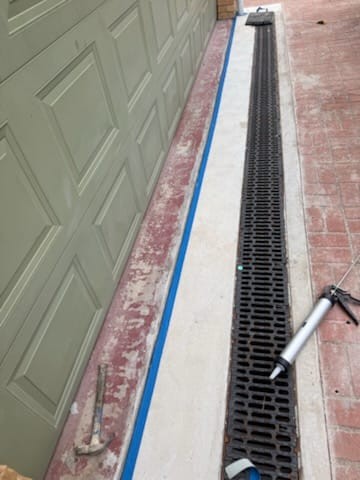
Installing the Strip Drain: Place the strip drain into the trench, ensuring it is level and properly aligned. The drain should connect seamlessly to the existing drainage system to facilitate efficient water flow.
Backfilling and Reinforcement: Once the strip drain is in position, backfill the trench with appropriate materials and reinforce the area as needed. This step helps maintain the slab's strength and stability.
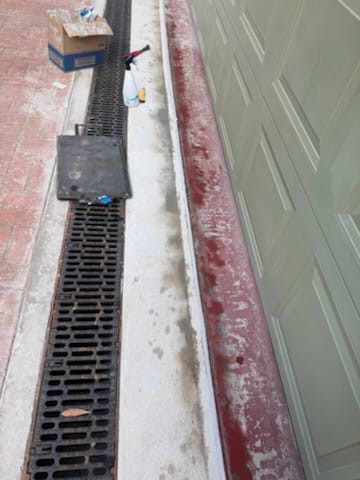
Finishing: Restore the surface of the suspended slab by applying a new layer of concrete or flooring, ensuring a smooth and even finish.
Final Inspection: Conduct a comprehensive inspection to verify that the strip drain is functioning correctly and meets all safety and compliance standards.
At THN GROUP, we ensure that every strip drain installation is executed with precision and care, providing reliable drainage solutions for your property.